If you’ve kept up with our blog over the years, you know that we always champion the security benefits of both commercial and residential security cameras. After all, surveillance systems provide multiple forms of security. For starters, a visible surveillance presence can deter crime from occurring on your property at all. Potential criminals spotting cameras often find a new target immediately. Additionally, cameras provide you with both live and recorded footage of your property. Of course, this allows you to check in at any time, while also remaining assured that any suspicious activity happening on your property will not go unrecorded. In this post, we share some valuable advanced camera use tips to help create the most effective and efficient surveillance system possible!
First, we’ll share some tips on camera system design. Creating a network of cameras that fits your job’s needs and gets you the views you want warrants extra attention. Therefore, we’ll start our conversation on advanced camera use tips by showing you how to make this happen. Then, we’ll turn our focus to getting the amount of recorded video you need. In this section, we’ll look at a couple ways you can increase your recorder’s video storage capabilities. Now, let’s begin with a look at intelligent surveillance system design!
Following Smart System Design Tips
When we design a surveillance system, we have to keep a couple factors in mind. First, we must determine the specific type(s) of camera for every application. Doing so requires taking several unique factors into consideration. We’ll begin this section by describing the variables that each camera installation brings, and how we address them. From there, we’ll also look at some of the issues we must tackle when determining exactly where to install cameras.

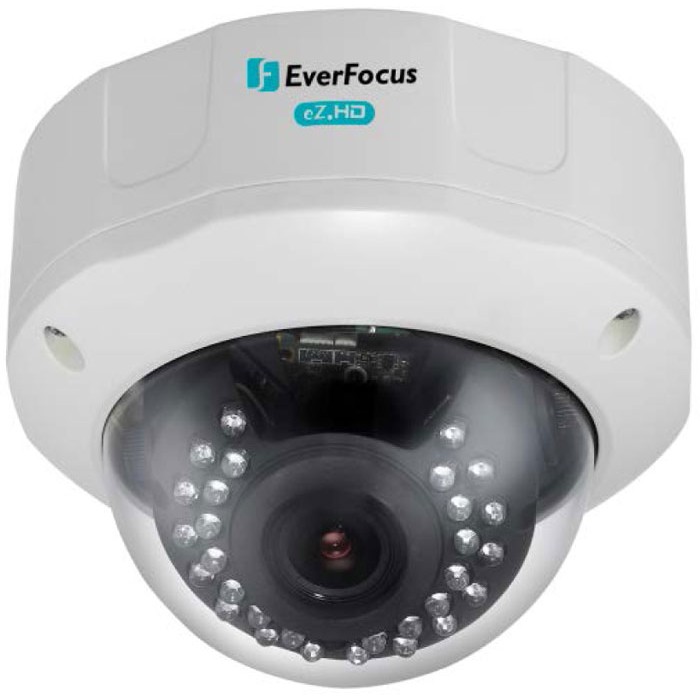
Vandal-resistant cameras, such as this one by Everfocus, provide a strong measure of resistance against physical attacks.
Choosing the Right Cameras for the Job
As with most security-related products, a camera exists for just about any application you can imagine. However, choosing the right one can prove difficult without consulting a full-time security company. We’ve been helping customers choose the cameras that work for them for over three decades now! Moreover, we help explain customers’ options to them to help them make an educated decision.
Speaking of camera options, let’s run down some of the variables between different types of cameras. For starters, some cameras have weather-resistant features for outdoor installations. Moreover, some cameras also provide vandal resistance to make it difficult to destroy them. Certain cameras have lenses that have uniquely powerful “zooming” capability for long-distance viewing. Still others have enhanced resolution for applications when customers demand extreme clarity.
Choosing the right cameras will help ensure our customers’ surveillance meets expectations. Furthermore, carefully reviewing your options can also help you avoid spending money on unnecessary features! For example, installing outdoor-rated cameras indoors may do nothing more than add needless cost to your surveillance installation. At this point, you’ve gotten a sense of how we choose which cameras we install. Now, let’s look at how we choose where we install your cameras!
Camera Placement and Installation Best Practices
When it comes to advanced camera use tips, very few prove as useful as ensuring we install cameras at the most effective locations possible. We have to keep a few things in mind when determining camera locations. First, we must determine the most important areas of your property to watch. In general, doorways and parking lot entrances deserve camera coverage. Additionally, we also try to take into account specific areas of concern such as rooms with valuables, weapons, or any sensitive products or machinery worth keeping an eye on.
From there, we also try to create some security for the cameras themselves. After all, burglars who notice cameras onsite may try to lower their risk of getting caught by destroying them. Installing cameras higher then first-floor level can make them tougher to reach. Additionally, installing vandal-proof cameras can make it harder to inflict damage on your surveillance equipment, as we mentioned earlier. Finally, we try to install your cameras in a manner in which your cameras “watch out for” each other. If all of your cameras have at least one camera watching them, criminals attempting to destroy any camera on your property will always get caught on video! Now that we’ve looked at some system design-specific advanced camera use tips, let’s look at a couple best practices for video recorder usage.
Adding More Recording Time
One of the first things we determine when creating a new camera system is how much video storage a customer requires. In some cases, such as in many residential installations, a few weeks’ worth of of storage will suffice. After all, even if something happens during a trip, this still generally allows residents to return home and review any video. However, commercial customers often look for over a month of video storage.In fact, certain commercial applications have insurance-related or even legal video storage requirements.
For example, the Cannabis Control Commission in Massachusetts requires marijuana dispensaries to have surveillance systems that hold 90 days’ worth of video! As you can imagine, this requires much different equipment than video systems that only store a few weeks’ worth of footage. In this section, we’ll look at a couple ways we can create this video storage capability. Now, let’s get started with a look at how we can add extra recording space just by programming our recorders carefully.
Following Proper Recorder Programming Procedures
When we program a video recorder, we have a few options that we can control to maximize your cameras’ effectiveness. For example, we can use your recorder to determine several viewing options regarding variables such as brightness levels and contrast. Furthermore, we can program recorders to help maximize your video storage capability. While our recorders capture constant video 24 hours a day without interruption, it still recognizes when cameras capture motion versus when cameras record a still frame. Additionally, we can change your recording settings so that cameras record at a lower frame rate when there is no motion present.
You may wonder why taking this step would increase your recorder’s staorage capability. However, thinking of video as a series of pictures makes this concept easy to grasp. Lowering the frame rate for cameras recording an area with no motion greatly reduces the number of pictures the cameras take. In turn, this means your recorder does not have to store as many pictures, which means your recorder’s storage space gets used up less quickly. Of course, your cameras will immediately record at a high frame rate upon detecting motion. Therefore, taking this step increases your recorder’s storage abilities without negatively affecting your security. Next up, let’s examine another method we use to expand your surveillance system’s recording capabilities.

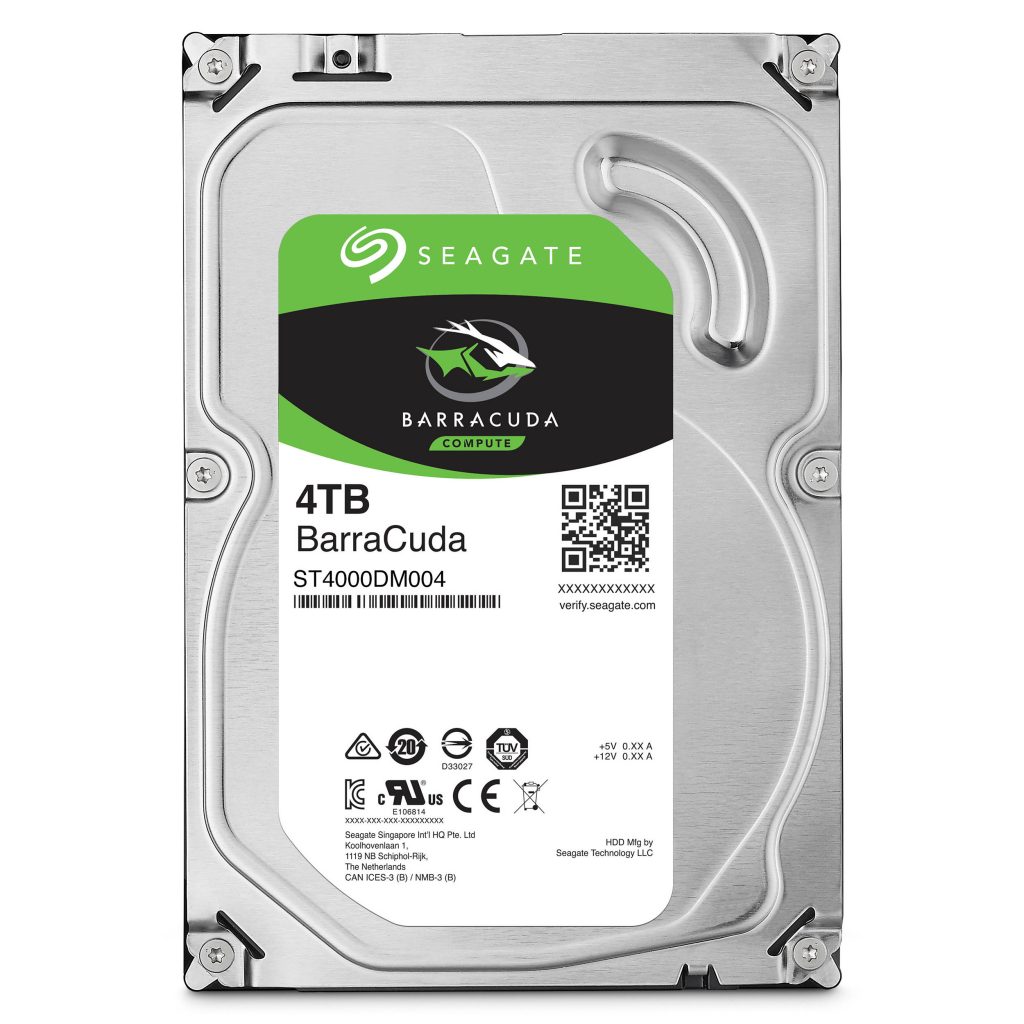
We can add storage capacity to your recorder by installing an additional hard drive, such as this one by Seagate.
Creating Additional Storage Space
Occasionally, customers wish to add more storage to their surveillance system well after we install their equipment. Luckily, we can make this happen without changing out any of their existing recorders. Our video recorders contain a hard drive that stores surveillance footage. The larger the drive’s capacity, the more recorded video it will store. We measure the storage space for these recorders in terabytes. Those familiar with computer or smartphone storage usually see storage space measured in megabytes, often designated as “MB,” or gigabytes, shortened to “GB.” One terabyte equals one thousand gigabytes, or one million megabytes.
So what does this mean in terms of video storage? In simple terms, the more video you wish to maintain, the more terabytes of storage your recorder should hold. Over time, customers often ask for more recorded footage than their existing recorder provides. In these cases, we simply install another hard drive to the existing recorder to boost its storage capacity. In some cases, such as when we add a 4TB hard drive to a recorder that began with a 2TB drive, we can more than double the existing recorder’s capacity at a very reasonable price point! The ease with which we can perform this task and the tremendous recording capacity it can add to your recorder make installing an additional hard drive one of most popular advanced camera use tips.
Putting Our Advanced Camera Use Tips to Work for You
We hope that these advanced camera use tips help you create a surveillance system that works for you. Furthermore, we encourage you to contact us with any questions you may have about the material presented in this post. We will happily answer any security-related questions you may have. Additionally, we invite you to participate in our free site survey program. We offer complimentary security audits and quotes to both new and existing customers alike. While on site, we can address any concerns you may have. Moreover, we can make suggestions of our own based on our observations of your property.
Perhaps you have cameras installed and wish to maximize their effectiveness by using the information shared here. Or, maybe you have yet to install surveillance, and want to get it right from the start. Either way, we are happy to help. Together, we can design a surveillance system to help keep your home or your commerical property (or both!) as safe and secure as possible.
